

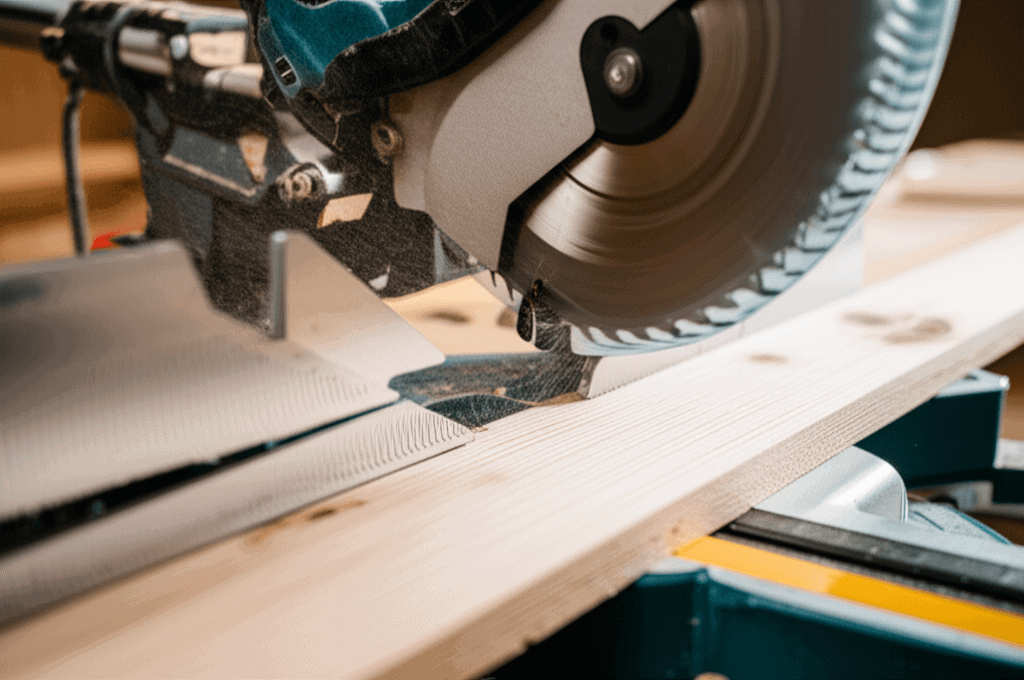
This article walks through practical approaches to getting repeatable, accurate cuts for frames. You will find clear guidance on tool selection, setup, blade choice, common mistakes and fixes, and routine care that keeps results consistent. Whether you build a few frames a month or want repeatable results for a small side business, these techniques will save time and reduce waste.
Why accurate miters matter for frame appearance and strength
Miters are more than a cosmetic detail. When the two 45 degree cuts at a corner meet flush, the glue surface is uniform and the joint has more contact area. That translates into stronger corners that stay tight under humidity changes and handling. A small gap concentrates stress at the ends of the joint which can lead to separation over time.
A well cut frame also reduces finishing work. Fillers and heavy sanding hide problems, but they also alter the look of moulding profiles. Precise cuts preserve the original profile, meaning less time spent sanding, filling, or repainting.
Choosing a miter saw style for frame work
Different miter saw types suit different workflows. Picture frame moulding is often narrow and ornate, and the cutting action you choose impacts setup, accuracy, and speed.
- Compound miter saw Good for compound angles when working with angled or beveled mouldings. The head can tilt and rotate, giving access to bevel cuts without moving the workpiece.
- Sliding compound miter saw The sliding rail adds capacity for wider stock. If you cut long mouldings or want to do occasional larger pieces, the sliding action is useful. For small profiles it adds weight and footprint.
- Single bevel miter saw Lighter and simpler. If you only need standard miters and not bevels, it is often faster to set up and less to maintain.
For many frame makers, a compact compound miter saw with a high-quality fence and positive detents is the most practical option. If you want model suggestions and comparisons aimed at framing, this link highlights models that match common needs: best miter saws for picture framing.
Blade selection and cutting technique for clean miters
The blade type and teeth count have a direct impact on the cut finish. Fine profiles and moulding with delicate edges show tear out easily, so choose carefully.
- Teeth per inch Higher tooth counts reduce tear out on fine moulding. For most picture frames a 60 to 80 tooth blade designed for crosscutting or finish work will produce a cleaner edge than a 24 tooth ripping blade.
- Tooth geometry Look for alternate top bevel or triple-chip grind designs for clean crosscuts on coated or veneered mouldings. These geometries score and slice the wood fibers to reduce chipping.
- Kerf and blade stability Thin-kerf blades remove less material and require less power, but very thin blades can wander if the saw isn’t rigid. Use a stable blade that matches your saw motor and keeps a steady cut line.
Cutting technique matters too. A smooth, steady feed maintains blade speed and prevents burning. Lower the blade slowly into the workpiece and let the motor and teeth do the work. For small moulding, support the stock close to the saw fence to prevent movement during the cut.
Setup tips to get consistent 45 degree miters
Repeatable setup is the foundation of accurate frame making. Small variables add up. Adopt a checklist so every cut starts from the same conditions.
- Check the saw fence and table are clean and free of debris. A tiny chip under a moulding causes angle errors.
- Verify the miter detents. Use a reliable digital angle gauge or a good quality protractor to confirm the 45 degree stops. Mechanical stops can drift after heavy use.
- Use a zero clearance insert when possible. It reduces tear out at the bottom of the cut and supports small stock.
- Mark longer moulding for orientation. Keep the face that will show on the finished frame facing up and towards the same side each time to maintain orientation of any profile asymmetry.
Clamping and fixtures that improve repeatability
Small clamps and a simple stop block are inexpensive tools that speed up accurate cuts. A stop block mounted parallel to the fence lets you cut multiple pieces to identical lengths without remeasuring. For miters, a pair of spring clamps holds narrow moulding against the fence where a firm hold is critical for a square cut.
Layout tricks to avoid mistakes
When cutting a set of four sides for a frame, label each piece and draw the saw line directly on the moulding. The saw kerf removes material; plan your mark so the visible edge aligns to the final dimension after the cut. Many framers mark the waste side and the finished side clearly to avoid flipping errors.
Troubleshooting common miter problems
Even experienced users run into gaps, splay, or mismatched profiles. Here are practical checks and fixes to close gaps and square corners.
- Gap along the joint Check that both mating pieces sit flat against the fence. If one rides slightly above, the angle will open on the face. Recut if necessary and use a clamp while glue sets.
- Corner splay or twist Verify the saw table is level and the fence is not bowed. A bowed fence pushes the workpiece out of true. Replace or shim the fence for consistent contact.
- Unequal lengths Use a stop block and cut all pieces sequentially rather than measuring each one. Measure once and cut multiple pieces to the same stop length.
- Tear out on delicate moulding Use a higher tooth count blade, score the cut line with a utility knife, or apply blue painter’s tape across the blade line to reduce chipping.
Maintenance and calibration to keep cuts steady over time
Machines change with use. A small amount of scheduled maintenance prevents drift and keeps joint quality high.
- Clean sawdust from the fence, table and sliding rails after each session. Built up debris affects squareness.
- Check blade runout by spinning the blade by hand with the motor off. Worn bearings or a warped blade show as wobble. Replace blades or bearings if you see movement.
- Check miter and bevel scales against a reliable angle gauge quarterly. Springs and stops can shift under normal use.
- Lubricate sliding rails sparingly and use a dry lube on painted surfaces to avoid attracting dust.
Practical workflow and glue up tips for frame assembly
Once cuts are consistent, assembly determines how the join looks after glue and finishing. Here are steps that reduce rework and speed production.
- Dry fit all corners before glue to confirm alignment and identify any small gaps.
- Apply glue to both mitered faces and use a spring clamp or a corner clamp to apply even pressure across the joint. Keep excess glue from the visible face to reduce sanding.
- Allow full glue cure before sanding. Premature sanding can weaken the joint or reveal gaps that widen after tension is released.
- When filling very small gaps, use a tinted filler that matches your finish so repairs blend in. For painted frames, a fine wood filler sands and accepts paint well.
Final checks and finishing steps for professional looking frames
Before finishing, inspect each joint from multiple angles under good light. A small misalignment can be hidden with sanding, but catching it early avoids a rework cycle. Sand the corners lightly to remove any glue squeeze out and to feather the joint into the profile.
Apply primer or sealer if painting, which prevents moisture from swelling the joint. If staining, test on a scrap piece of the same moulding to confirm the color and any filler match. Finish according to the frame’s intended use and environment, using UV resistant topcoats for pieces that will hang in bright light.
Consistent, accurate miters are about attention to detail and a few repeatable practices. Choose the right saw and blade, set up a tidy and repeatable workspace, and keep basic maintenance on schedule. Use simple jigs like stop blocks and corner clamps to speed production without sacrificing quality. With these methods your frames will look square and tight, with joints that hold up for years.
If you make frames regularly, take an afternoon to test a new blade, recheck your stops, and create a one page checklist for each session. Small improvements in setup and handling compound into big time savings and better finished work. Now it’s time to pick the saw and blade combination that fits your volume and budget, try a few practice cuts on scrap moulding, and then move into production. If you need specific product comparisons that focus on frame work, follow the earlier link and read model reviews before buying. Ready to tighten up your joints and reduce rework? Start with a setup check and a fine tooth finish blade, then measure twice and cut once.